How-to · Cable Management
How to Hide Desk Cables Without Drilling
A renter-friendly cable management plan for fixed desks, standing desks, and shared workspaces.
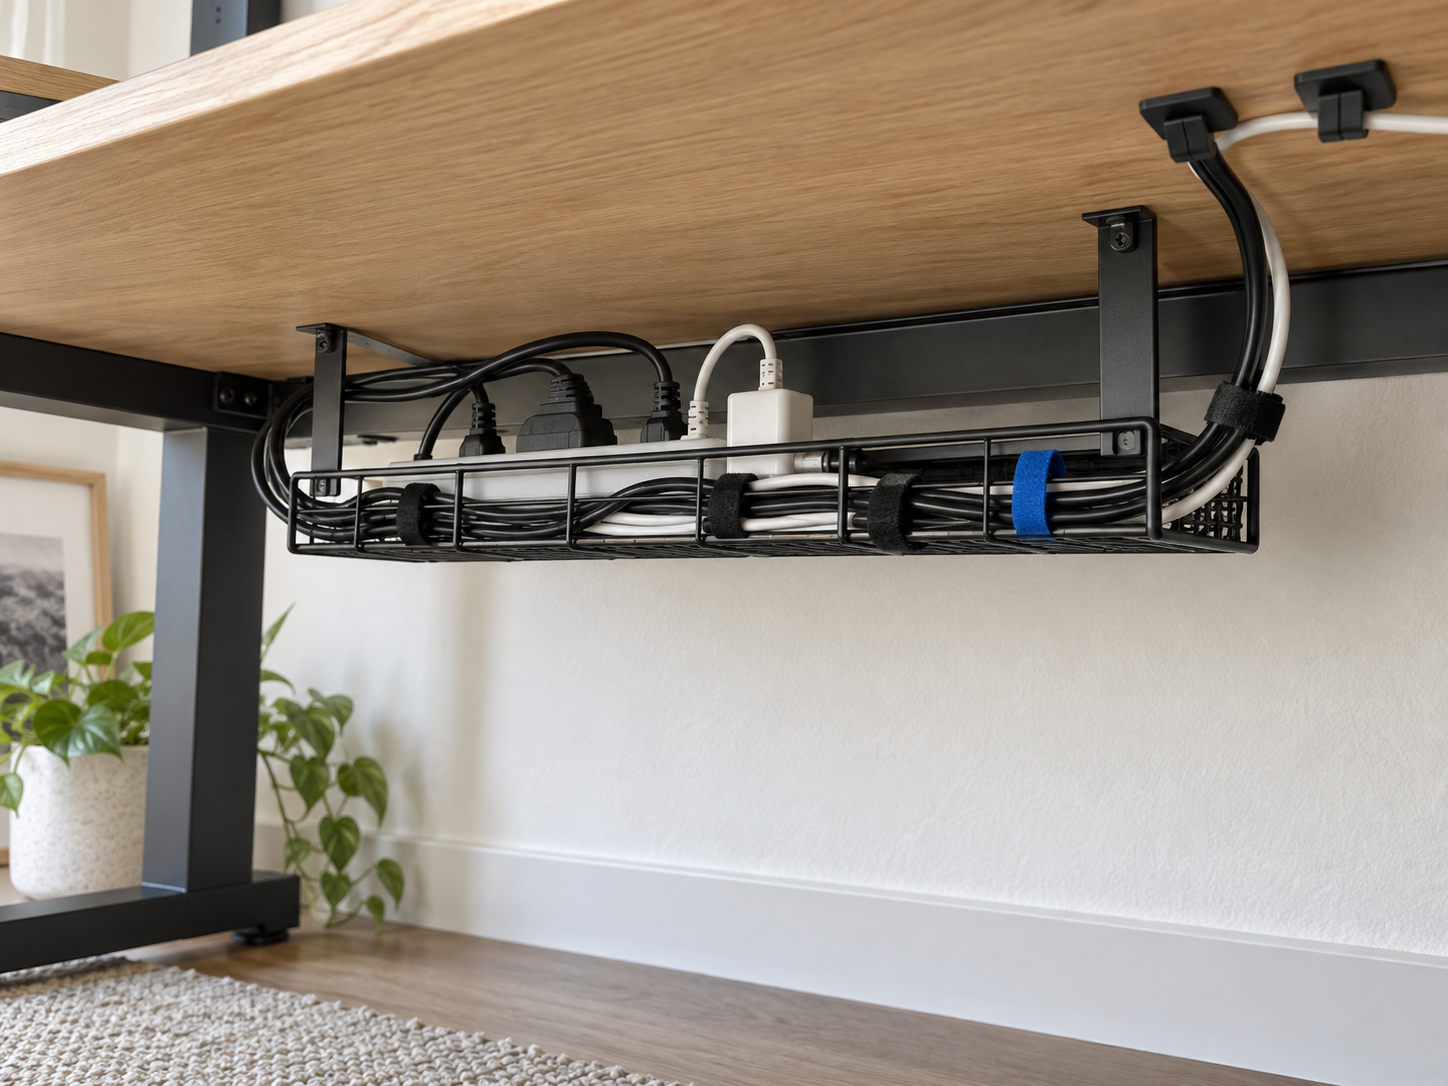
Quick guide
The no-drill kit
A small set of removable parts handles most desk cable setups.Bundle
Reusable tiesKeep fixed cables together without making later changes difficult.Route
Removable clipsTest them on a hidden part of the surface first.Support
Clamp-on trayKeep the power strip accessible and off the floor.You can get most cables off the floor without drilling into a wall or desk. The basic kit is small: reusable hook-and-loop ties, removable cable clips, and either a freestanding cable box or a tray that attaches with clamps.
Put the power strip in one accessible place
Choose a spot under or behind the desk where plugs remain reachable. Do not cover ventilation openings, trap power bricks in a tightly sealed box, or put the strip where a spilled drink can reach it.
Run one power cable from the desk to the outlet. Monitor, dock, speaker, and lamp cables can then meet at the strip instead of dropping to the floor in different places.
Separate fixed and moving cables
Bundle cables that rarely move, such as monitor power and Ethernet, with reusable ties. Leave charging leads and laptop cables easy to remove.
Monitor arms and standing desks need extra slack. Move the screen and desk through their full range before securing anything, then check that no connector carries the tension.
Test the route with painter’s tape
Use short pieces of painter’s tape to hold the route for a day. This shows whether a cable catches on the chair, pulls when the desk rises, or blocks a port you use often.
Once the route works, replace the tape with the final clips or clamp-on tray. Test removable adhesive on a hidden part of the surface first, especially on veneer, older paint, and textured walls.
Make future changes easy
Do not cinch every cable into one tight bundle. Label similar power adapters and leave connectors visible. You should be able to remove a monitor or dock without cutting apart the rest of the setup.
Before moving out, support each adhesive clip and remove it in the direction shown by its manufacturer. Pulling it straight away from the surface is more likely to lift paint or veneer.